
How to Start a Blog in College: Step-by-Step Guide
Wondering how to start a blog in college? Here’s everything you need to know to get your blog started in under an hour today!
I started my first blog when I was in college and by the time I graduated a little over a year later, I was making $2,000 a month from blogging.
During college, I was even able to quit my part time job as an assistant to an interior designer to focus on blogging because within a few months I was making over $1,000 a month from it (more than I made at my job.)
I’ve now started (and sold!) multiple successful blogs. Less than three years after starting my first blog, I make $5,000 a month blogging part time.
You can read my blog income reports for Simplifying College which show exactly how I make money from this blog!
I’m not special, and if I can do it, then so can you! Starting a blog was the best decision I ever made and I only wish I had done it sooner.
Blogging has allowed me to:
- Pay off my $30,000 student loan debt within 9 months of graduating
- Start saving aggressively for retirement at a young age
- Save money for my dream year-long round-the-world trip
This step-by-step guide will show you everything you need to do to start your own successful blog as a college student.
If you don’t plan on spending too much money, you can find a cheap hosting provider.
Step 1: Decide what to blog about.
The first thing to do when starting a blog is deciding on your niche, AKA the topic (or topics) that you will write about.
Here are some blog niche ideas to get you started:
- Fashion
- Beauty
- Travel
- Home decor
- Fitness
- Personal finance
- Food
- Wellness
- Lifestyle
- Relationships
There are literally a million possible niches out there.
You can get really specific with your niche (ex. a blog that’s only about vegan desserts) or you can keep it more broad. You can also choose to write about multiple topics (ex. fashion, beauty, and wellness.)
If you aren’t sure what you want your niche to be yet, don’t worry. You can start off by writing about whatever you want, and then narrow down your focus later.
Step 2: Choose a name for your blog.
This is such a fun step! Choosing a name for your blog is important because it’s the first impression your blog will make on a potential reader.
I also know how difficult it can be to come up with a name!
My biggest tip is just not to overthink it.
I’m also going to show you how you can go ahead and start your blog today, even if you haven’t chosen a name yet. This will give you some extra time to decide on a name without putting off starting your blog.
If you DO have a name in mind already, that’s perfect!
You can use this domain name checker tool to make sure the name you have in mind is available to register:
If not, here are some tips for deciding on a name for your blog:
- Make sure the name you want is available as a .com. It’s the most professional and standard domain name ending.
- Choose a name that’s short (no more than two or three words) and catchy.
- Incorporate your first name into your blog name (ex. Simply Charlotte) or go with your full name as your blog name.
- Try to avoid using hyphens, numbers, or misspelled words in your name.
In the next section, I’ll show you how to start your blog even if you don’t have a name yet! So you can always come back and decide on one later.
Step 3: Register your domain and get web hosting.
If you want to make money with your blog, you NEED to start a self-hosted blog.
This means you cannot start your blog on a free platform like WordPress.com or Blogger.com. You will not be able to monetize your blog if you do this.
What you need instead is a self-hosted blog through a company like Bluehost.
I use and recommend Bluehost for all new bloggers. They are the most affordable web hosting company out there and they give you a FREE domain name for your first year, plus the option to start your blog and choose a domain name later (which no other web hosting company does.)
Here’s how to start your blog with Bluehost:
1. Click here to go to Bluehost and then click the “Get Started” button.

2. Choose your hosting plan.
3. Put in your domain name.
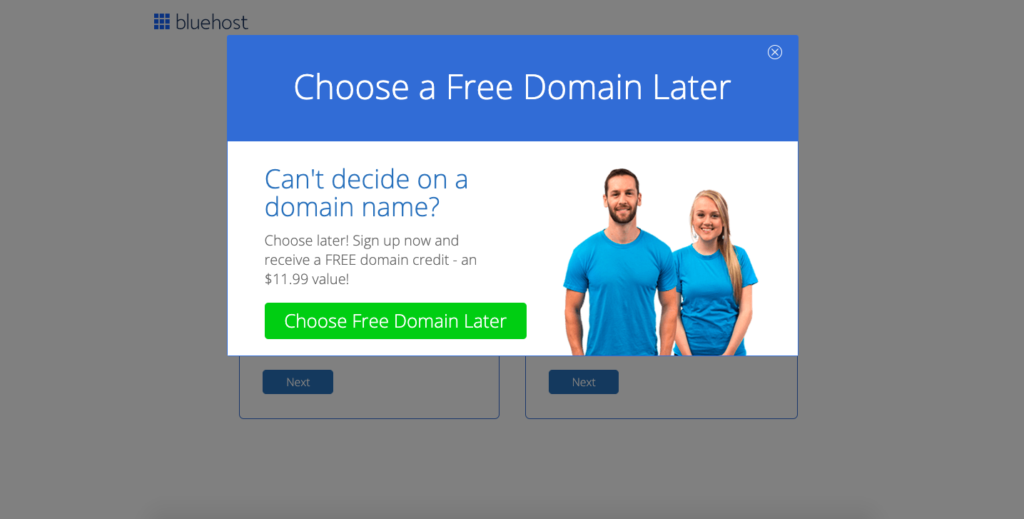
Select this option and you can go ahead and set up your blog now, then use the free credit to buy your domain name later.
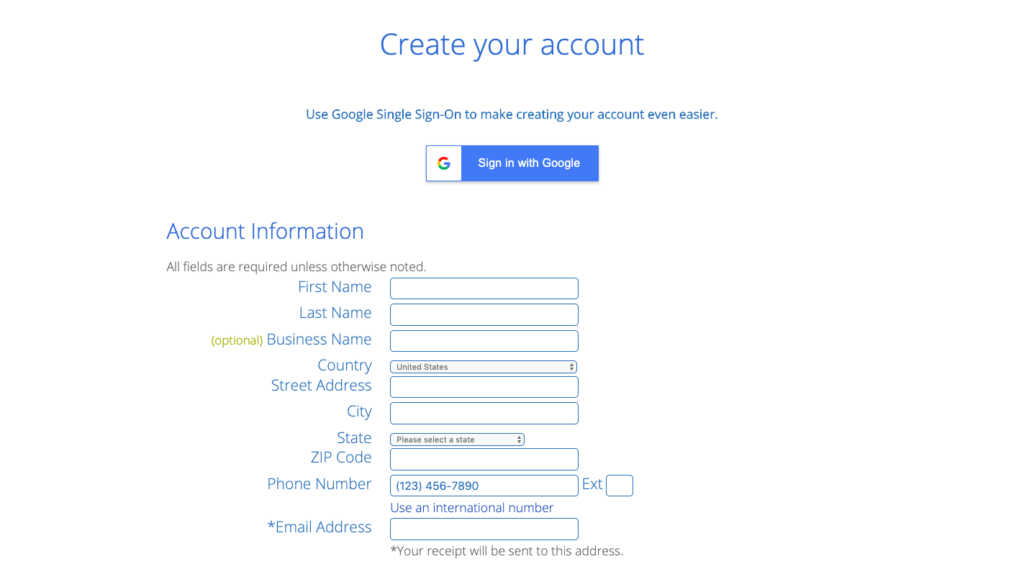
4. Enter your account information.
5. Choose your hosting package and pay.
6. That’s it. You’re done!
Now you’re all set! Bluehost will automatically install WordPress for you.
What exactly is WordPress? It’s the content management platform that your blog will run on. Your WordPress dashboard is where you will go to edit the look of your blog, write blog posts, upload images, etc.
It’s extremely easy to use, even if you’re a total beginner.
Step 4: Choose a WordPress theme.
Now that your blog is created, you can log into your WordPress dashboard for the first time. It will look something like this:
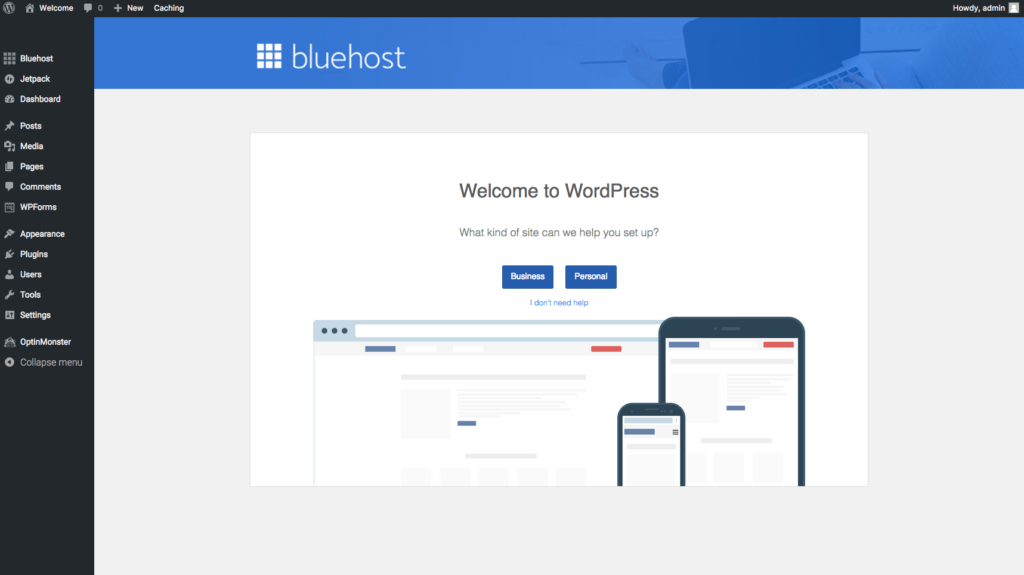
The first thing you will want to do is choose a WordPress theme for your blog.
You can go to Appearance > Themes from the WordPress dashboard and browse the free themes that are available. If you like one of these free themes, you can go ahead and install it on your blog.
Personally, I recommend investing in a paid theme because it will make your blog look a lot more beautiful and professional.
Paid themes also come with detailed setup instructions, advanced customization options, and customer support in case you get stuck (free themes do not.)
I am using a WordPress theme from 17th Avenue Designs on my blog. I highly recommend these themes because they are super beautiful and will make your blog stand out. They’re also pretty affordable (between $45-69 depending which theme you choose and this is a one-time cost.)
Step 5: Start blogging!
The last thing to do is just start writing!
That is the best piece of advice I can give to new bloggers. Don’t let a fear of making your blog posts “perfect” hold you back.
You just have to jump in and start and learn as you go. Check out what other successful bloggers in your niche are doing to get an idea of what works.
The most important thing is to jut get started.
You will learn and improve as you go. Happy blogging!
Recap: How to Start a Blog in College
- Choose a niche (AKA the topic you are going to blog about.)
- Decide on a name for your blog.
- Register your domain name and get web hosting through Bluehost.
- Choose a WordPress theme and install it.
- Start blogging! Don’t worry about being perfect.
Leave a comment below if you have any blogging questions!
Thanks for your post! I’m a new college blogger, so your post was quite informative & inspiring! 🙂
Hi Rachel, so glad you found this post helpful! Good luck with your blog. 🙂
Thank you so much for this valuable information! Just wondering, what’s your strategy for Pinterest and how long did it take for you to reach 1 million monthly viewers?
Glad you found this post valuable! I mainly follow the strategy from the course Pinteresting Strategies. I don’t pay much attention to Pinterest views, but rather how much traffic I am actually getting since Pinterest views don’t always correlate to actual clicks to my website!